I stared making cheese in late 2017. My first batch was a Bel Paese, based off of this tutorial. Since then I’ve gone on to make asiago, parmesan, blue stilton, gorgonzola, brie, camembert, crottin, chevre, caerphilly, monterey jack, habanero cheddar, saint marcelin, manchego, and more! Over thirty batches so far!
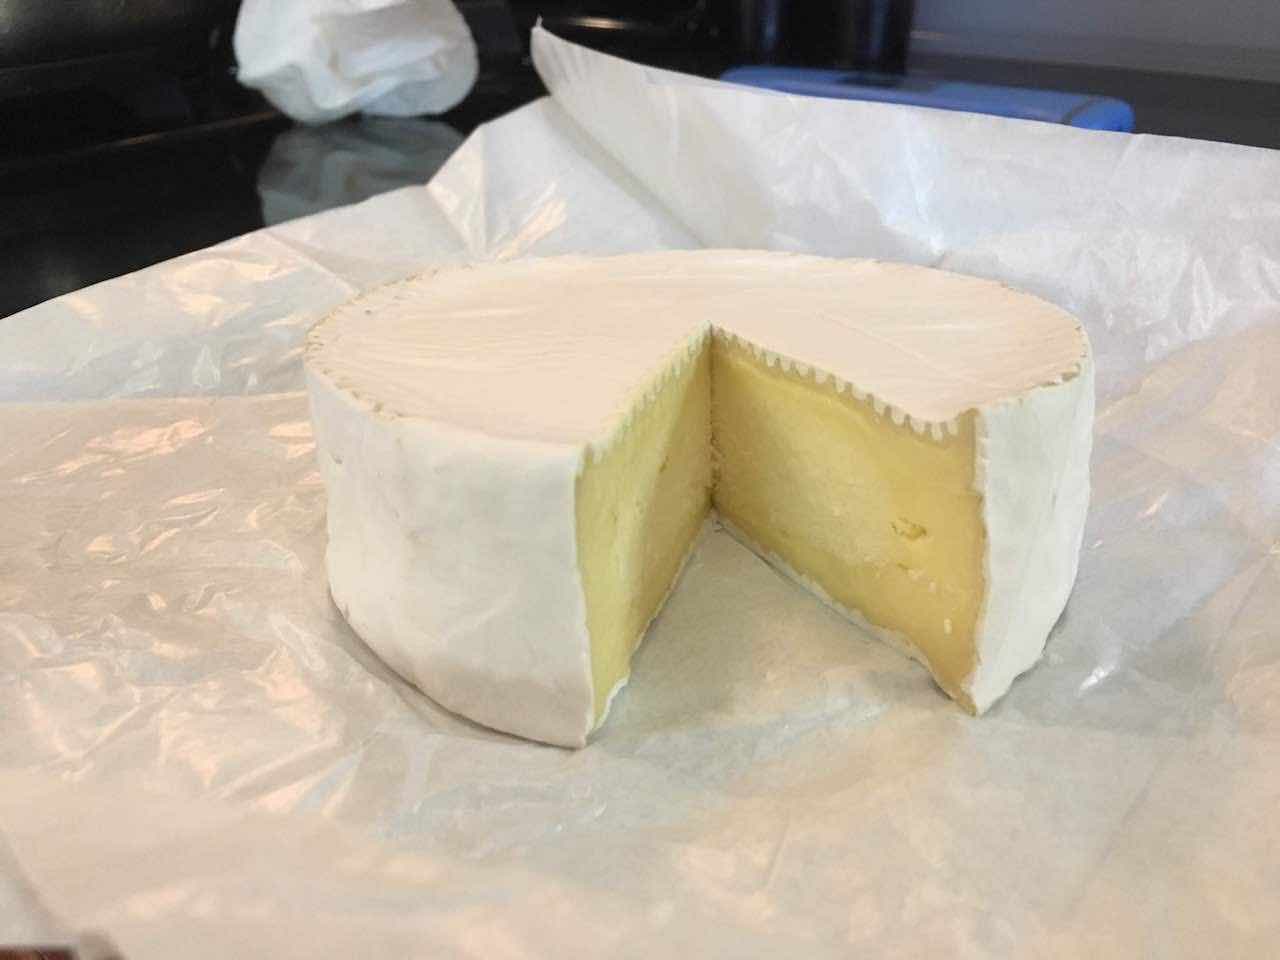
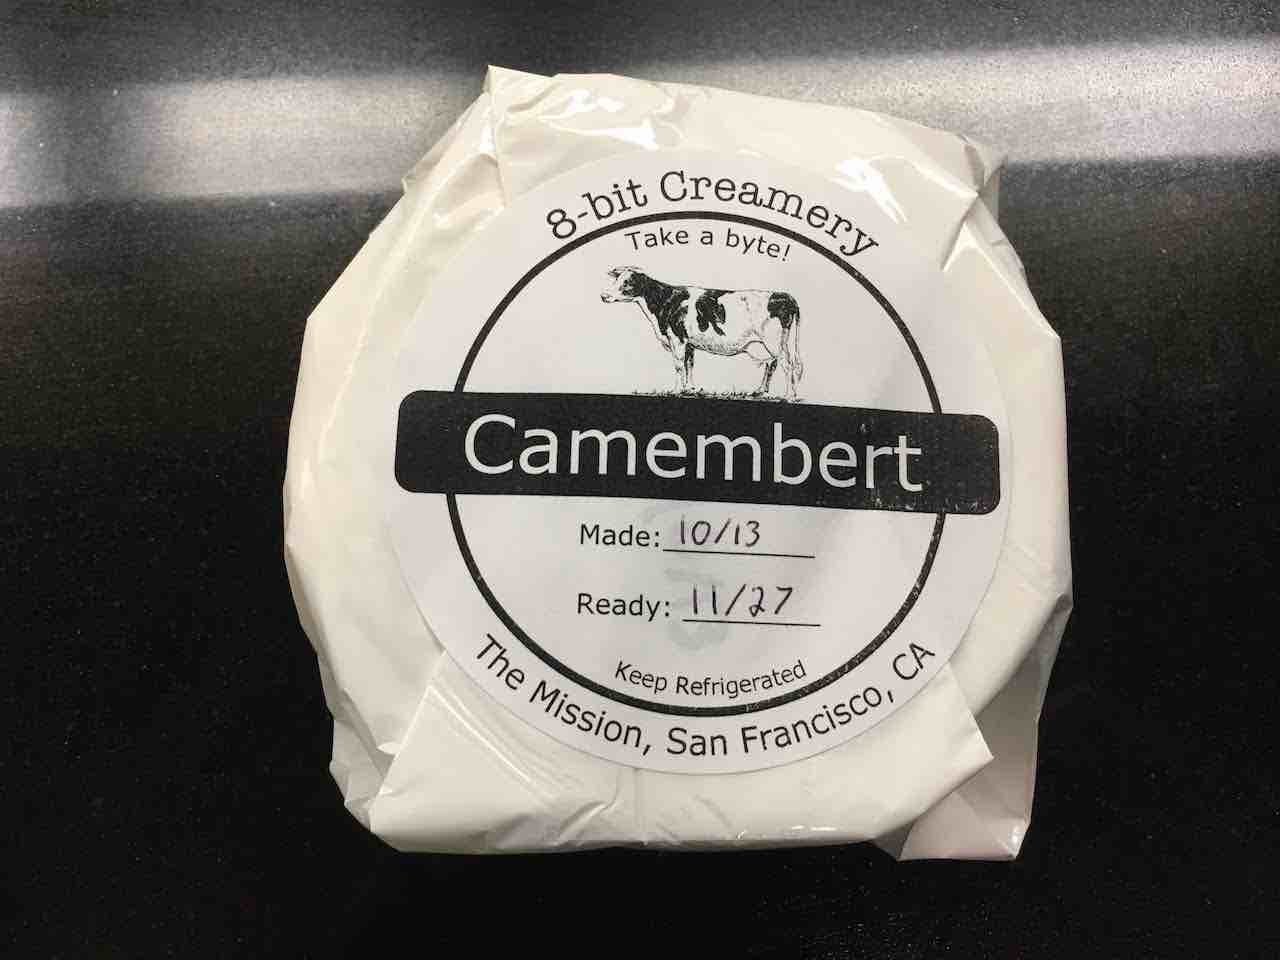
Camembert with custom labels I made.
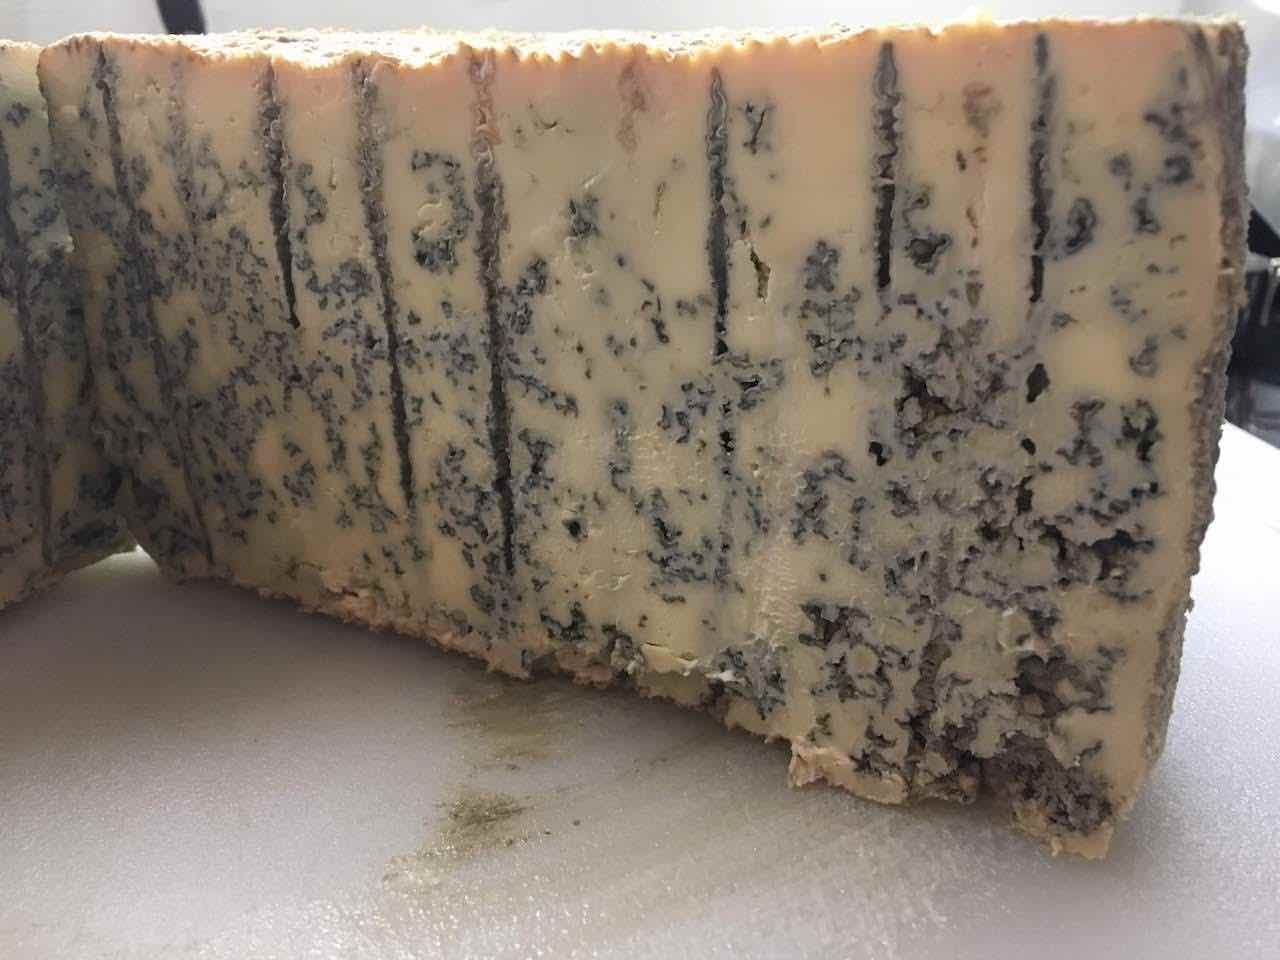

Blue stilton and asiago
Ingredients
Good ingredients make good cheese. I get most of my supplies from New England Cheese Supply. They have a full range of cultures, rennet, moulds and molds.
Milk selection
Milk is composed of 2 main types of protein: casein and whey. Casein is what cheese is made of. During cheesemaking the water soluble whey is removed from the milk. The remaining casein and milk fat are called curds, which we form into cheese. I make most of my cheeses from whole cows milk that I buy at the grocery store. I’ve had good luck with Trader Joe’s and Kirkland brand. I’ve also made cheese with goat’s milk that I usually find at Trader Joe’s. As long as the milk isn’t ultra pasteurized it can be made into cheese as ultra pasteurized milk tends to have trouble setting a firm curd.
Culture
Bacterial cultures help preserve milk by reducing its sugar content and lowering its pH (acidifying). Cultures convert lactose sugar into lactic acid, giving cheese its tangy flavor. In addition, the lower pH is needed to allow the milk to coagulate. Cultures come in 2 main catagories: mesophilic and thermophilic. Mesophilic cultures are those that thrive at temperatures in the range of 25 to 35°C. These cultures are use to make most cheeses including cheddar, blue cheese, gouda, and most softer cheeses. Thermophilic cultures like warmer temperatures in the range of 35 to 50°C. Thermophilic cultures are used to make cheeses such as parmesan, asiago, swiss, and gruyere.
Rennet
Rennet is the magical enzyme that turns milk into cheese. It was originally derived from the stomach of nursing calfs, but now days there are vegetarian sources. Rennet causes milk to separate into curds and whey.
Molds and additives
Molds and additional bacteria are sometimes added to cheeses to change their flavor. Blue mold like penicillium roqueforti is what gives blue cheese its funky flavor. White molds like penicillium candidum and geotrichum candidum give camembert and brie their gooey texture and earthy flavor. The red bacteria brevibacterium linens gives limberger and munster their distinctive color and strong smell/flavor. Propionibacterium shermanii is what gives swiss cheese its characteristic holes.
Process
Cheesemaking is the art of spoiling milk in just the right way. The process for most chesses involves the following steps: acidification, coagulation, cutting/cooking, consolidation, salting, and aging. In order for milk to separate into curds and whey it needs to be acidified. Acidification is usually performed by a bacterial culture. Alternatively acid can be added directly to hot milk such as when making ricotta, but here I will focus on cultured cheeses.
Acidification (ripening)
In cultured cheeses the acidification step is called ripening. This involves warming the milk to a defined temperature (based on the type of culture) and letting microbes (either present in raw milk or from an added culture) convert lactose into lactic acid. This process takes anywhere from 30 min to 24 hours depending on the recipe.
Coagulation
Once acidified the milk is coagulated using rennet. When the rennet is added, coagulation takes 30 to 90 minutes. After this period the curd is checked for a “clean break.” A knife is inserted into the curd pulled slightly to the side to see how well the curd holds its edge. A well set curd will hold an edge without fracturing.
Cutting and cooking the curd
Most hard cheeses require the curd to be cut in order to help separate the curds and whey. The curd is cut into small cubes and stirred. For drier cheeses like parmesan the curd temperature is raised and the curds are “cooked” to expel more whey. Many softer cheeses skip cutting and cooking entirely.
Consolidating the curds
Curds are consolidated either by hanging them in cheesecloth or by pressing. Some cheeses are allowed to consolidate under their own weight while others have external weight applied. In general the denser the final cheese the more weight is used for pressing.
Salting
Some cheeses are salted directly before being pressed. Soft cheeses are often just sprinkled with salt. Many harder cheese are soaked for hours in a saturated salt water brine solution after being pressed.
Aging
While some cheeses can be enjoyed fresh, most cheeses are aged. Aging temperature, humidity, and handling vary a lot and are designed to bring out desired surface microbes. During aging these microbes help the cheese develop its flavor. Aging can be as short as a few weeks or as longs several years!
Recipes
Gavin Webber’s YouTube tutorials are a great resource. This is the YouTube channel that I watched and followed when I was starting out. He breaks down the process in an easy to consume way and even has videos showing tastings! Once you feel more comfortable with the process you can move on to more complex recipes. I also own a copy of Home Cheese Making (4th edition) by Rikki Carroll. It’s widely considered the go-to book for home cheesemaking. It is a great resource!
Custom equipment
Over the years I have put together some custom equipment for cheesemaking. Hopefully someday I will provide deep-dives into how each of these came together.
Cheese cave
A cheese cave is a must for those wishing to age cheese for long periods. I already owned a kegerator with a digital temperature controller, so I was able to re-purpose it to age my cheeses. I also added a IHC200 humidity controller and dehumdifier. If you don’t have separate temperature controler you could use a ITC608T.

My cheese cave with 2 parmesans, 12 camemberts, and a gouda.
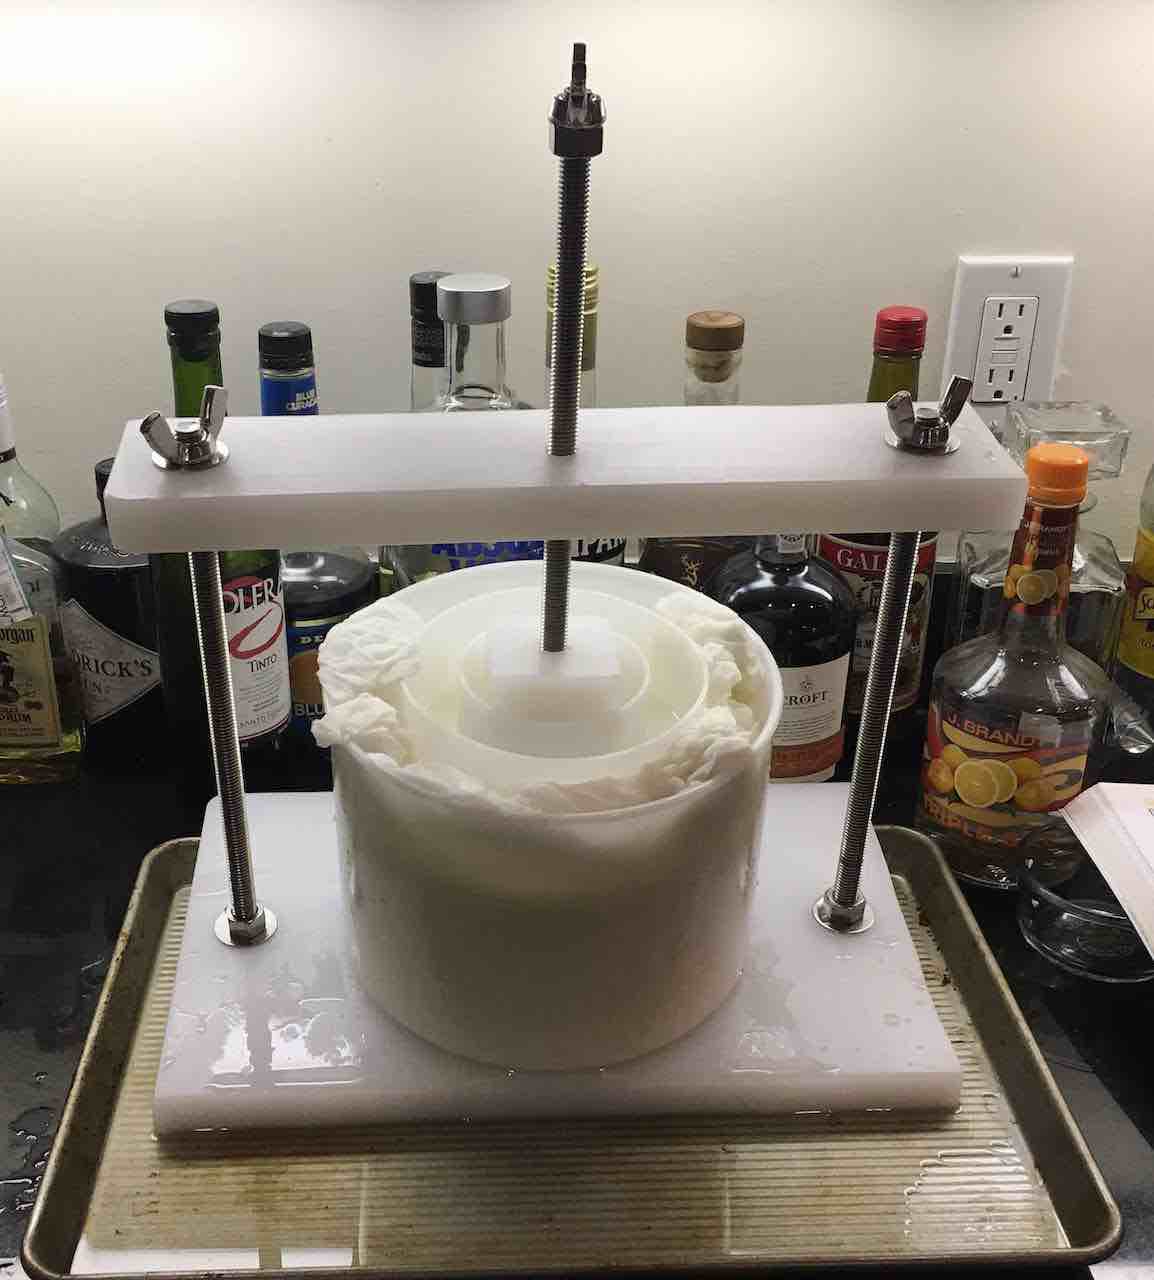
Cheese press
A cheese press is used to make hard cheeses such as cheddar and parmesan. I decided to build my own cheese press after not really finding what I was looking for in the market. I based my design on Gavin Webber’s press. It is comprised of a large polyethylene cutting board that was cut and re-assembled with food-grade (316) stainless steel hardware. I got the hardware from McMaster-Carr. The cutting board came from Amazon. I cut the cutting board using a reciprocating saw and drilled all of the holes with my drill press. Not seen in the picture is a spring that sits between the top of the mold and the ram that allows 0 to 65 lbs of pressure to be applied to the mold. Adjusting the distance the spring is compressed adjusts the pressure.
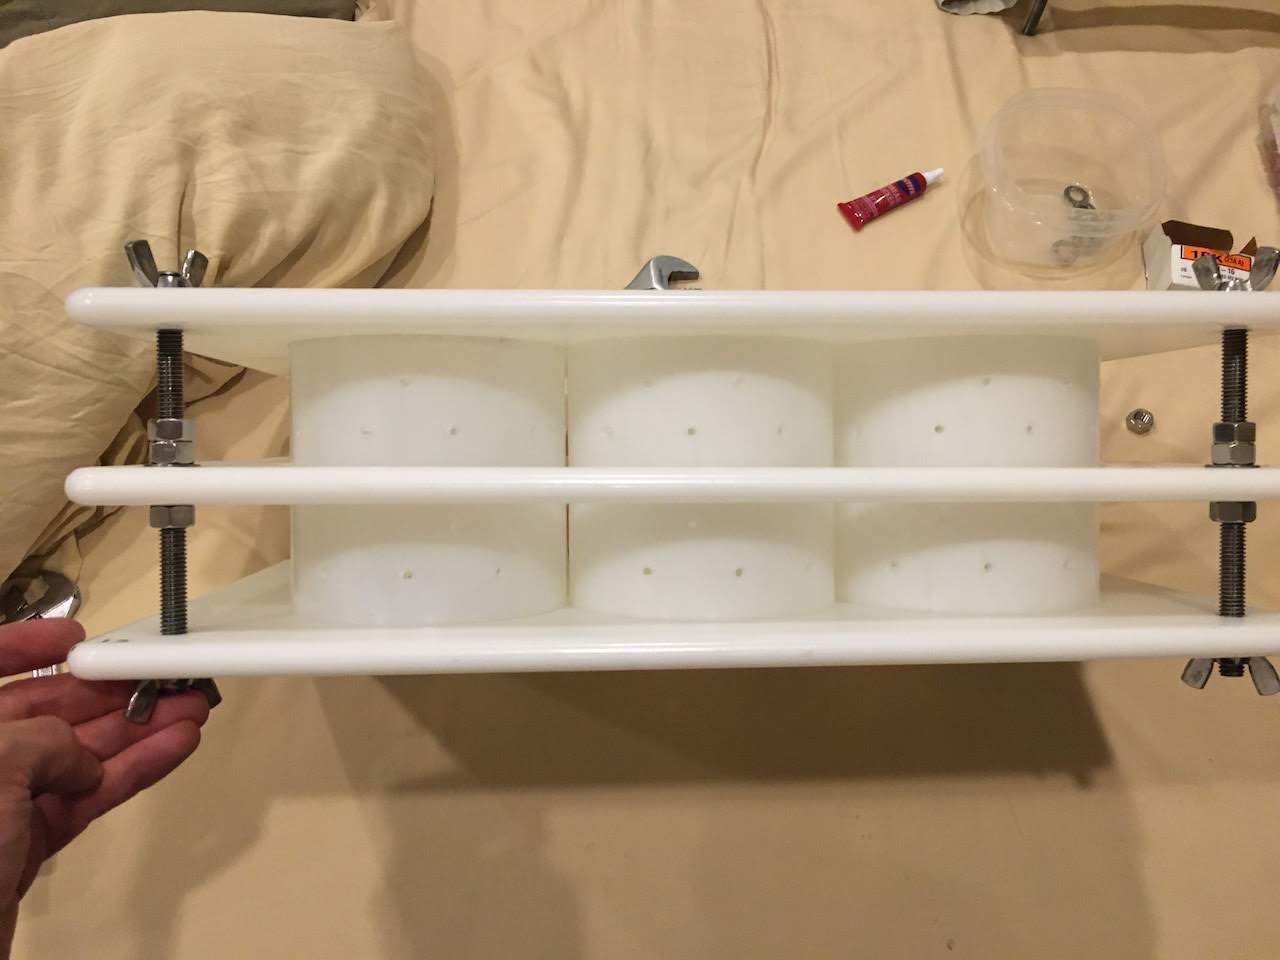
Camembert caddie
Camemberts are made in open-ended molds and consolidate under their own weight. They require flipping upwards of six times while they are draining in order to properly consolidate. Usually each mold is placed in a “sandwich” which adds a draining mat (usually bamboo or plastic mesh mat) and cutting board to each end of the mold. Each mold must be flipped individually with 1 hand on each side leading to a very tedious process. To simplify this I created a “caddie” that can hold and flip 6 camembert at once. This ensures that they don’t slip when flipping. I now make 12 camemberts per batch from six gallons of milk using two caddies. For a deep dive on this project check out the post.