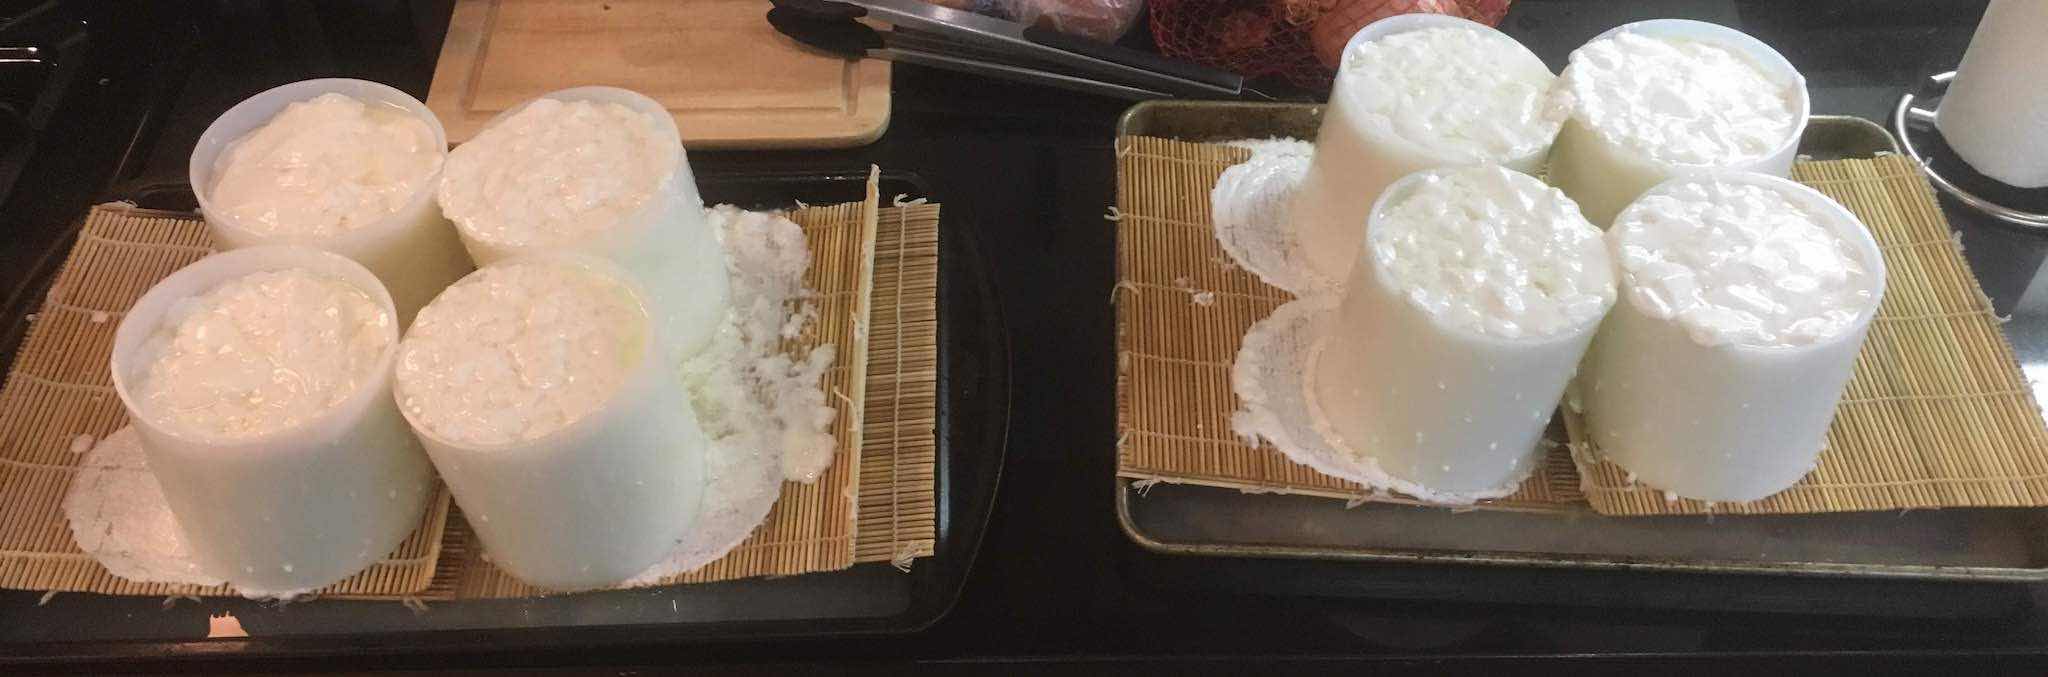
Camembert is a French style cheese from the Normandy region. It is a white-mold ripened soft cheese made in 4 inch round discs. Because each cheese settles under its own weight in the mold, they must be flipped periodically while they are consolidating. Camembert molds are open-ended to promote draining so this is a very tedious process. Until now I had been using four bamboo sushi mats (two on each side in a chris-cross orientation) to flip each mold. This worked okay for two molds at a time, but as you can see below, sometimes it got a bit messy.
By late 2019 I had scaled my cheesemaking to six gallon batches and as each camembert is ½ gallon of milk I was making 12 per batch. Flipping two at a time, six times each, was 36 flips! There had to be a better “whey”… To simplify things I decided to make “caddie” that could hold six molds together with draining mats and allow them to be flipped as a single unit.
Caddie Version 1
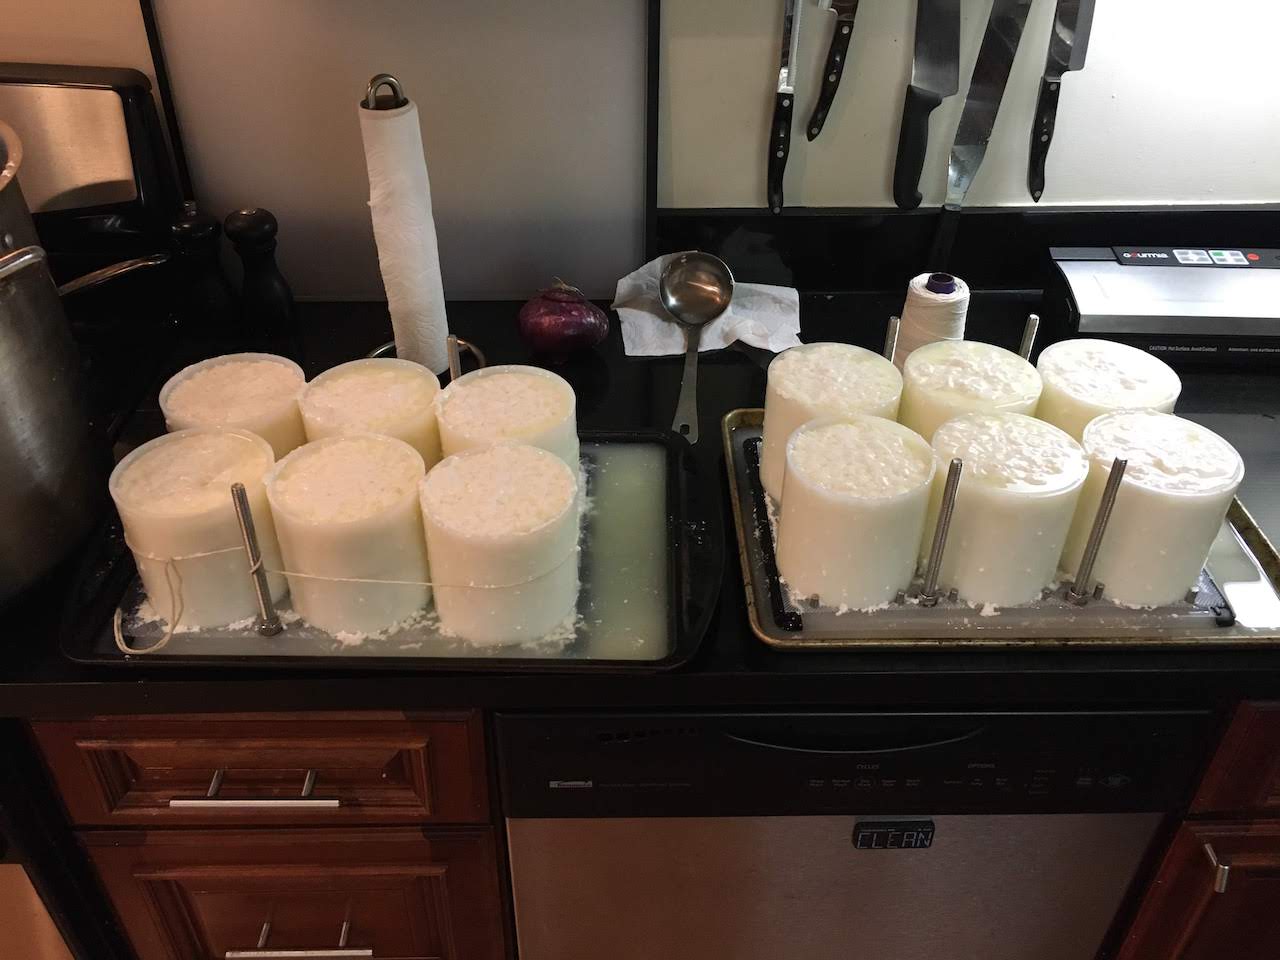
In early October of 2019 I started my first attempt with two cutting boards held together by stainless bolts. The molds were held in place by stainless pegs that prevented them moving side to side. Each end was lined with polypropylene draining mat to allow whey to run off. After making a batch with these caddies, I discovered some shortcomings. First, it was difficult to take one end off without lifting the entire caddie off of the counter. This was because the bolts holding the ends together had to be removed to take the end plate off. The second issue was that the stainless pegs that held each mold in place didn’t stay in the plastic very well. You can actually see in the third picture below that I had to tie some butchers twine around the molds to hold them in place.

Ready to make some cheese.

Filled with curd.
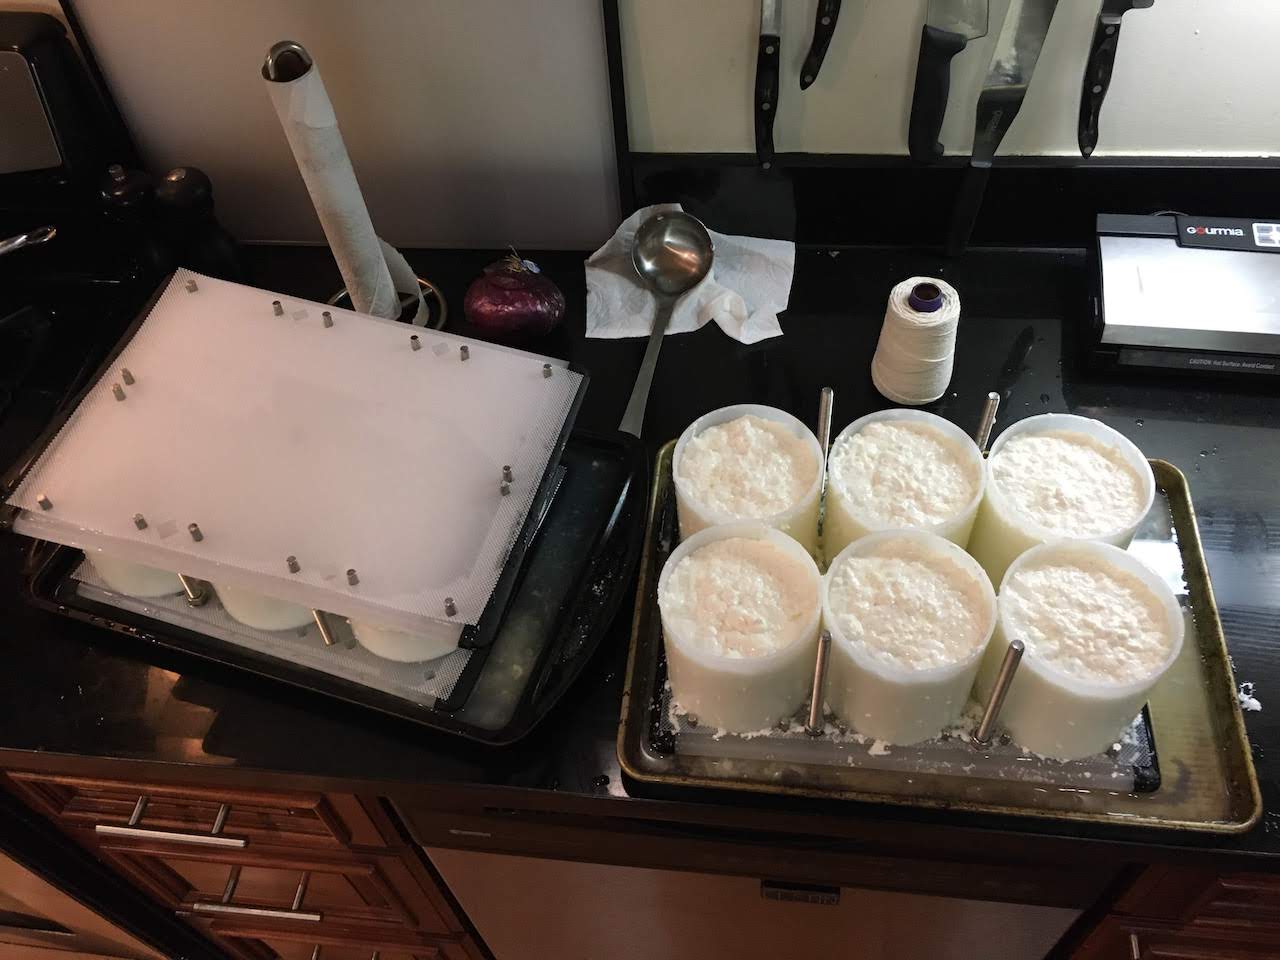

Time to flip.
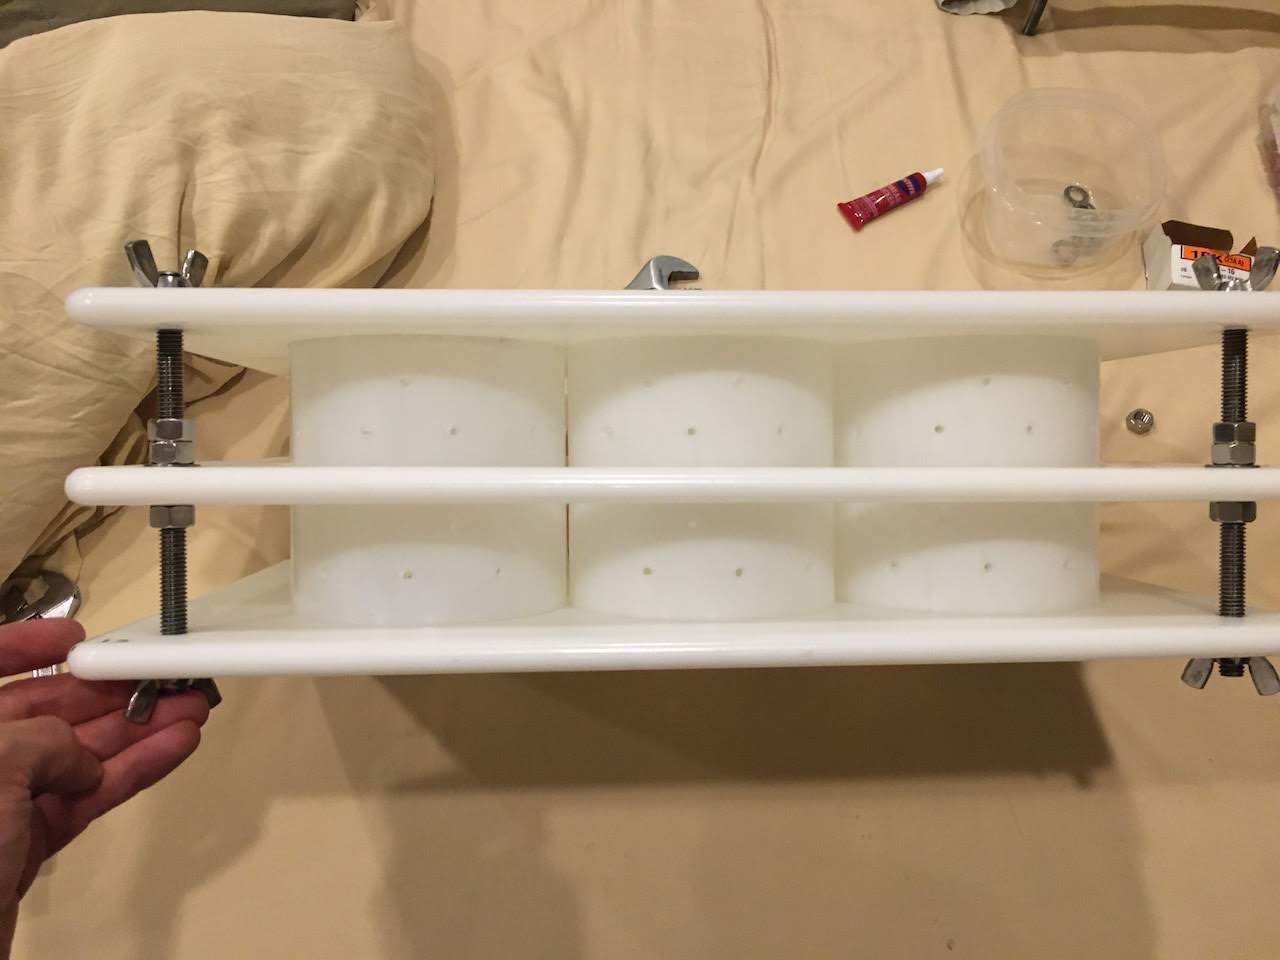
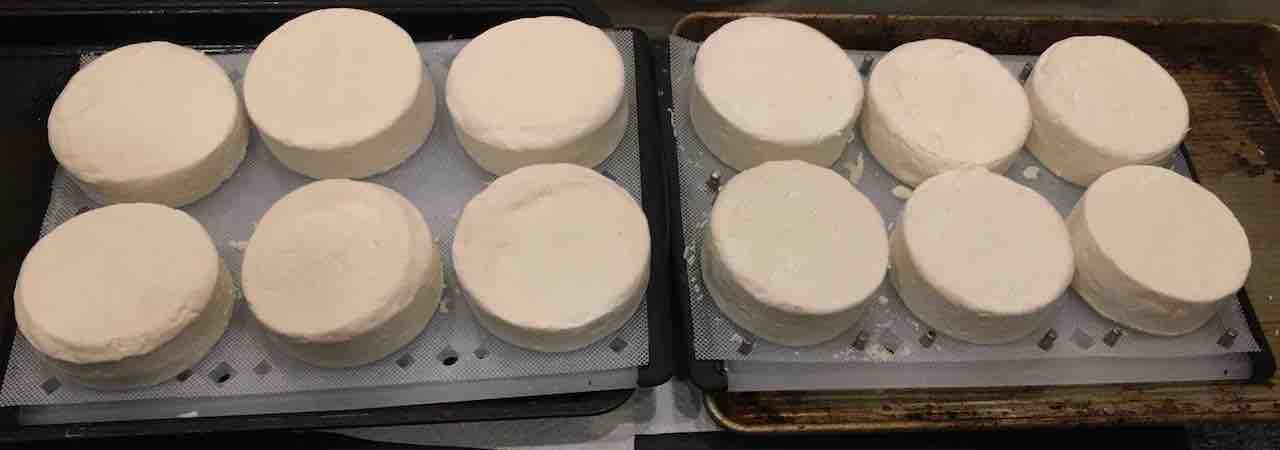 Ready for aging!
The resulting cheese was perfectly delicious but I felt I could do better with the hardware. I went back to the drawing board for a second attempt.
Caddie Version 2
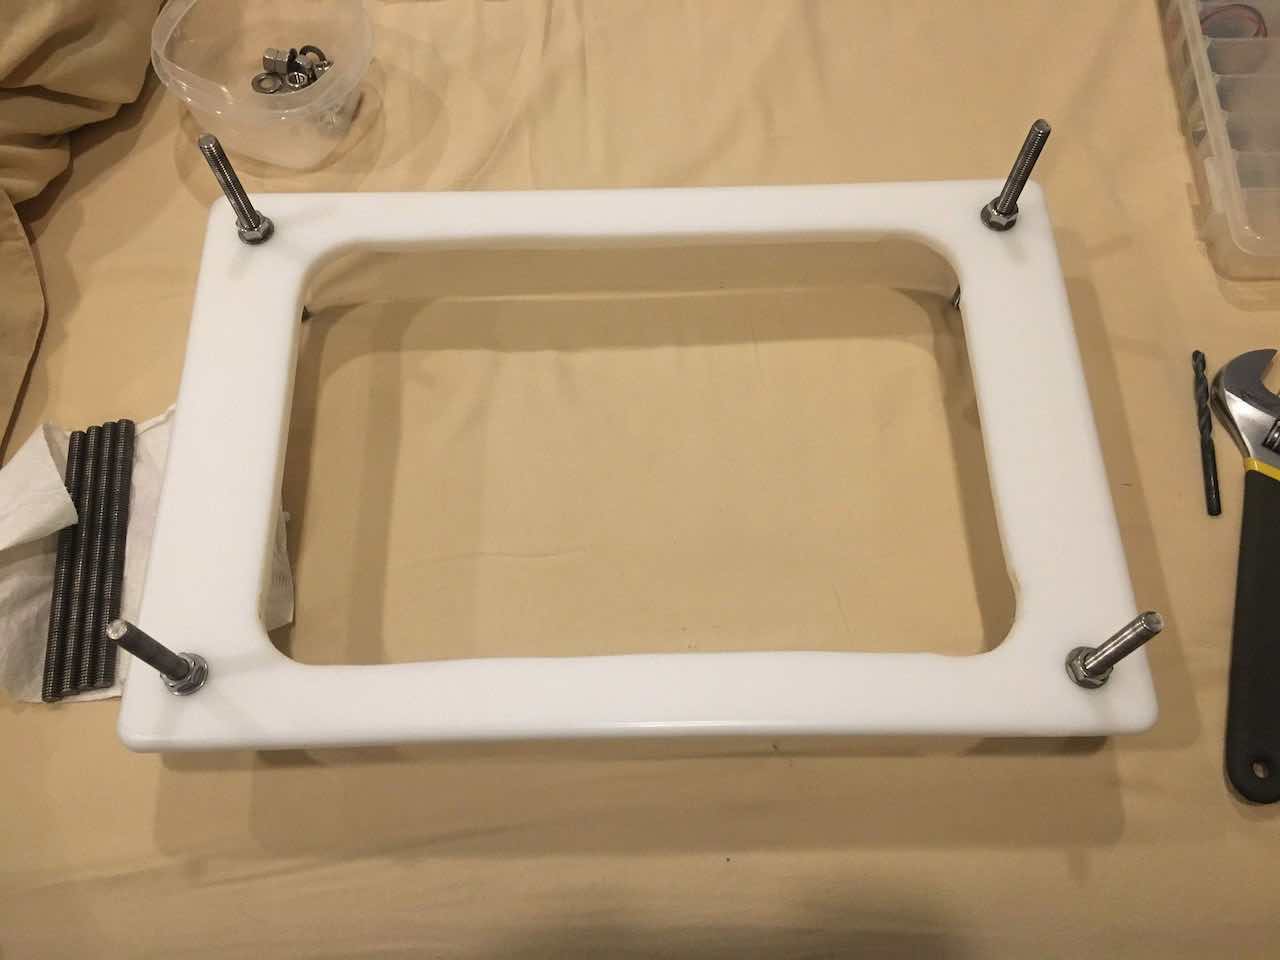
A few weeks later, in mid October, I started on my second version. I replaced the bolts with threaded rod. This allowed either end to come off while leaving the rest of the hardware assembled. I upgraded to thicker and larger cutting boards for increased rigidity. I also replaced the stainless pegs with a 3rd cutting board that was cut out in the center to hold all 6 molds inside it. Cutting out the middle board was a bit involved and required a reciprocating saw but it was worth it. The final product was much more sturdy than version 1. They also proved to be much more user friendly. When fully loaded it is trivial to take off the top cutting board by removing the top 4 wing nuts.

Cutting out the center board.
Test fit with all molds (no drain holes yet).
Cutting draining holes on the outside panels.
Design
The version 2 design has the following stackup:
- Top outer board
- Draining mat attached to top outer board
- 6x molds (surrounded and held in place by the middle board)
- Draining mat attached to bottom outer board
- Bottom outer board
Note that the top and bottom outer boards are identical.
Parts (for a single v2 caddie)
- 6x - camembert molds
- Large polypropylene draining mat
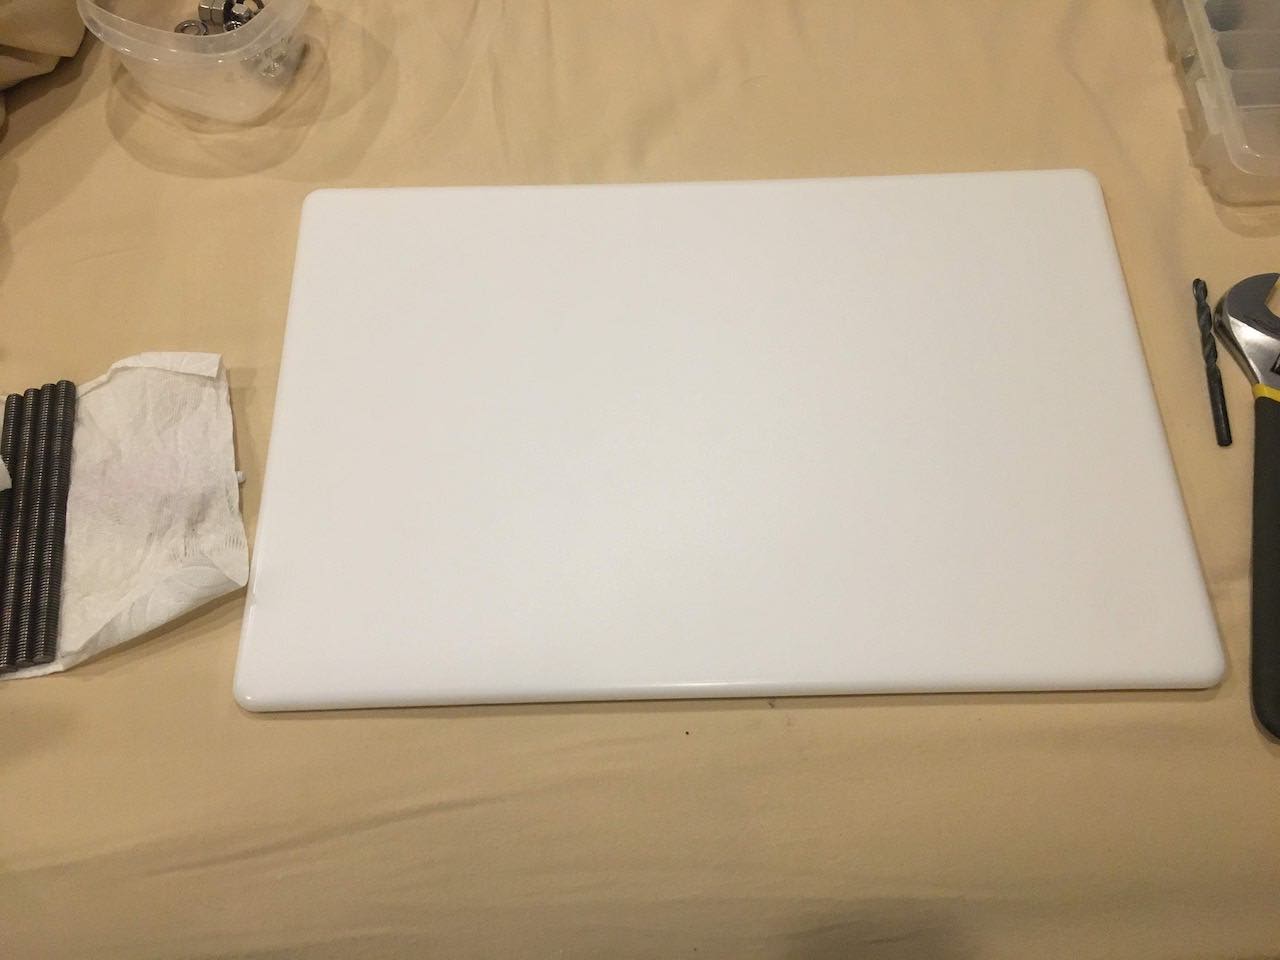
- 3x - 18” x 12” x ½” HDPE cutting boards
- Hardware (all 316 stainless):
- Locktite 2046 which is food safe (to hold nuts in place)
Tools
- Drill (preferably a drill press)
- ⅜” drill bit
- 3⁄16” drill bit
- 2 ½” circular hole saw (just what I had on hand)
- Deburring tool (comes in handy to clean up holes and cuts)
- Bench vise or hammer
- Sharpie marker
- Isopropyl alcohol (for Sharpie cleanup)
Assembly
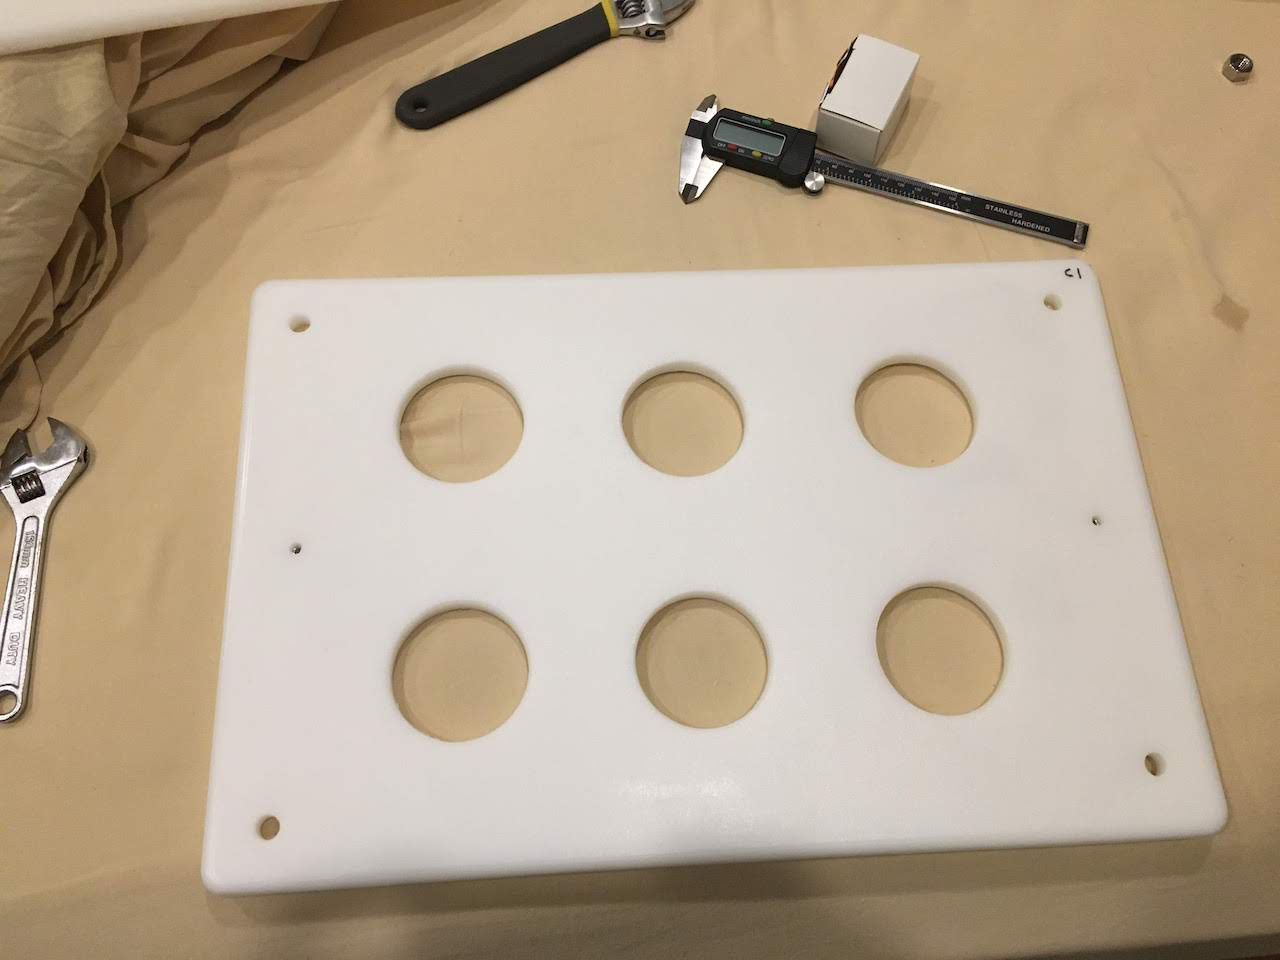
- Line up 3 cutting boards and match drill each corner with a ⅜” bit. The holes should be 1” from the edge.
- Label the corners that are match drilled and the order that they stack.
- Mark out a centered 9 ⅛” x 13 ¾” rectangle on the middle board.
- Use a large drill bit to make a hole inside the marked rectangle so it can be cut out using a reciprocating saw.
- Assemble the caddie with all 6 molds using the threaded rod and wing nuts at each corner.
- Mark the edge of each mold on both outer pieces.
- Disassemble and use the markings to determine the center of each mold on the outer boards.
- Drill out a drain hole at the center marking of each mold on each of the 2 outer boards using the hole saw.
- Debur all cuts and holes.
- Mark a 3⁄16” hole in the middle of the short edges of the outer boards, about 2” from the edge. These will be for the tee nuts that accept the draining mat retention screws.
- Optionally countersink the tee nut flange 0.038” deep with a ½” drill bit.
- Using a vise or a hammer, press-fit the tee nuts.
- Cut 2 draining mats to fit (approximately 10” x 15” should do).
- Make a hole in the draining mat to fit the retention screws.
- Clean up all Sharpie marks with alcohol.
- Attach the draining mat to the inside of each outer board.
- Assemble all hardware. Each corner should stack up from top down as:
- Wing nut (snug against the outer board)
- Outer board (top)
- Nut (snug against the outer board) <-Locktite
- Nut (snug against the middle board) <-Locktite
- Washer
- Middle board (centered on each threaded rod)
- Washer
- Nut (snug against the middle board) <-Locktite
- Nut (snug against the outer board) <-Locktite
- Outer board (bottom)
- Wing nut (snug against the outer board)
- Locktite the specified nuts marked above.
- Once Locktite has set (24 hrs) disassemble and run through the dishwasher before using.
To finish off my setup I also bought 2 stainless 20” baking sheets to catch the draining whey from each caddie. When I have a chance I will take better pictures of the assembled caddies.
Happy cheesemaking!